I know, first hand as a photographer especially a newborn one it takes a lot of work trying to get that perfect image on the posers. Our fabric drops have a hard time keeping the wrinkles out of them, even with the layers we have on them.
This wasn’t my ‘invention’ so to speak, but I found a way for this to work for me. When I first started newborn photography, I had a cute travel poser I purchased off etsy. (I actually still have it). I built a pvc pipe stand for it, square stand (and have that too). That stand worked for a little while, but I wanted to invest in “Studio Baby” posers. Based out of Canada, I had been eyeing them for a while. It’s the perfect size so you and your assistant do not have to constantly bend over (it gets hard on the backs). At the time my assistant had a few back issues, so I purchased the large studio poser from Studio Baby. Then I bought a T’Stand to make this a little more stylish and easier.
While my T’stand worked fine, It was kind of annoying to keep trying to keep the fabrics and layers wrinkle free. This was bugging me. I am a perfectionist and when I see a wrinkle I can’t even…. nightmares!!!! So, this was customized to fit around my entire studio baby poser.
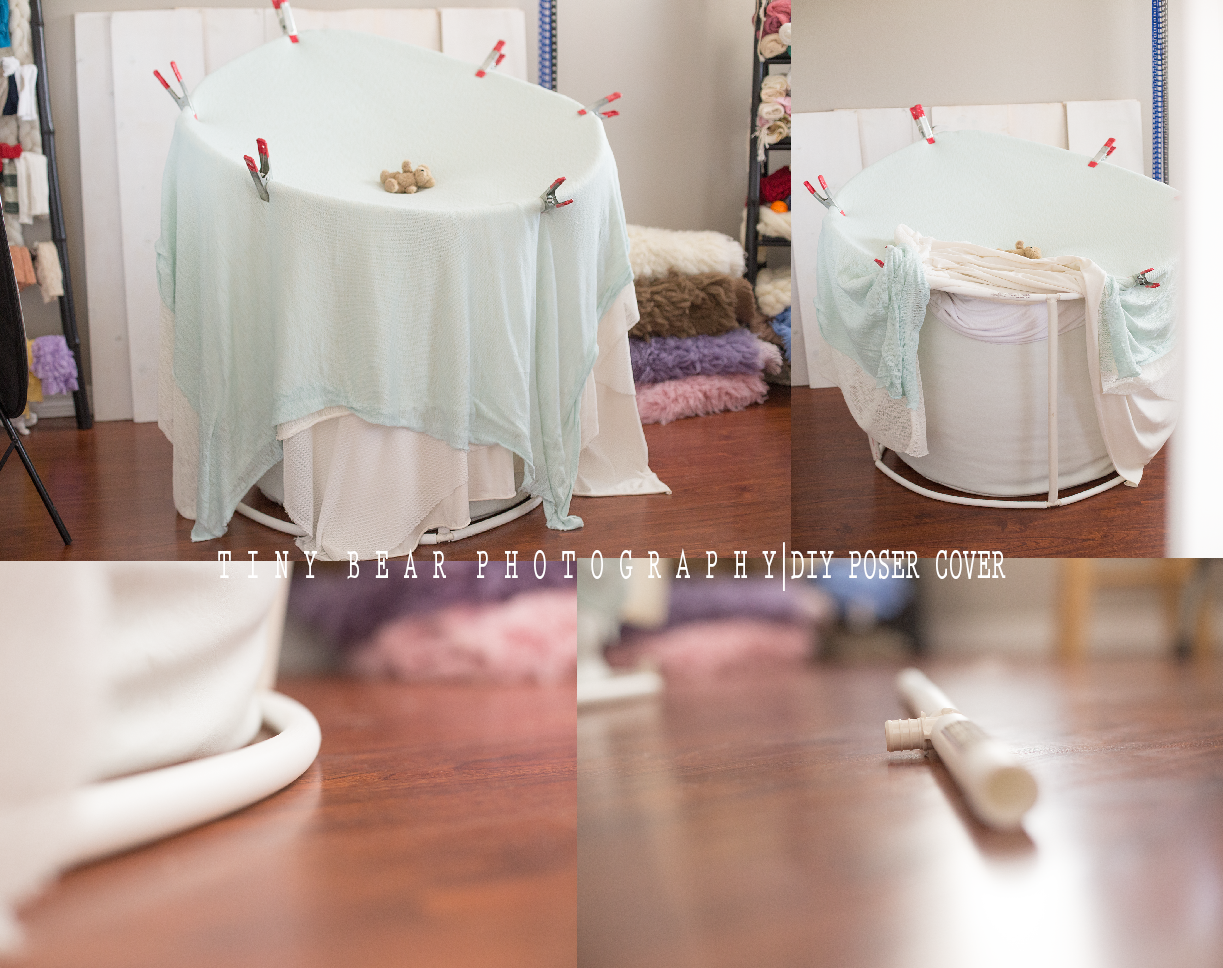
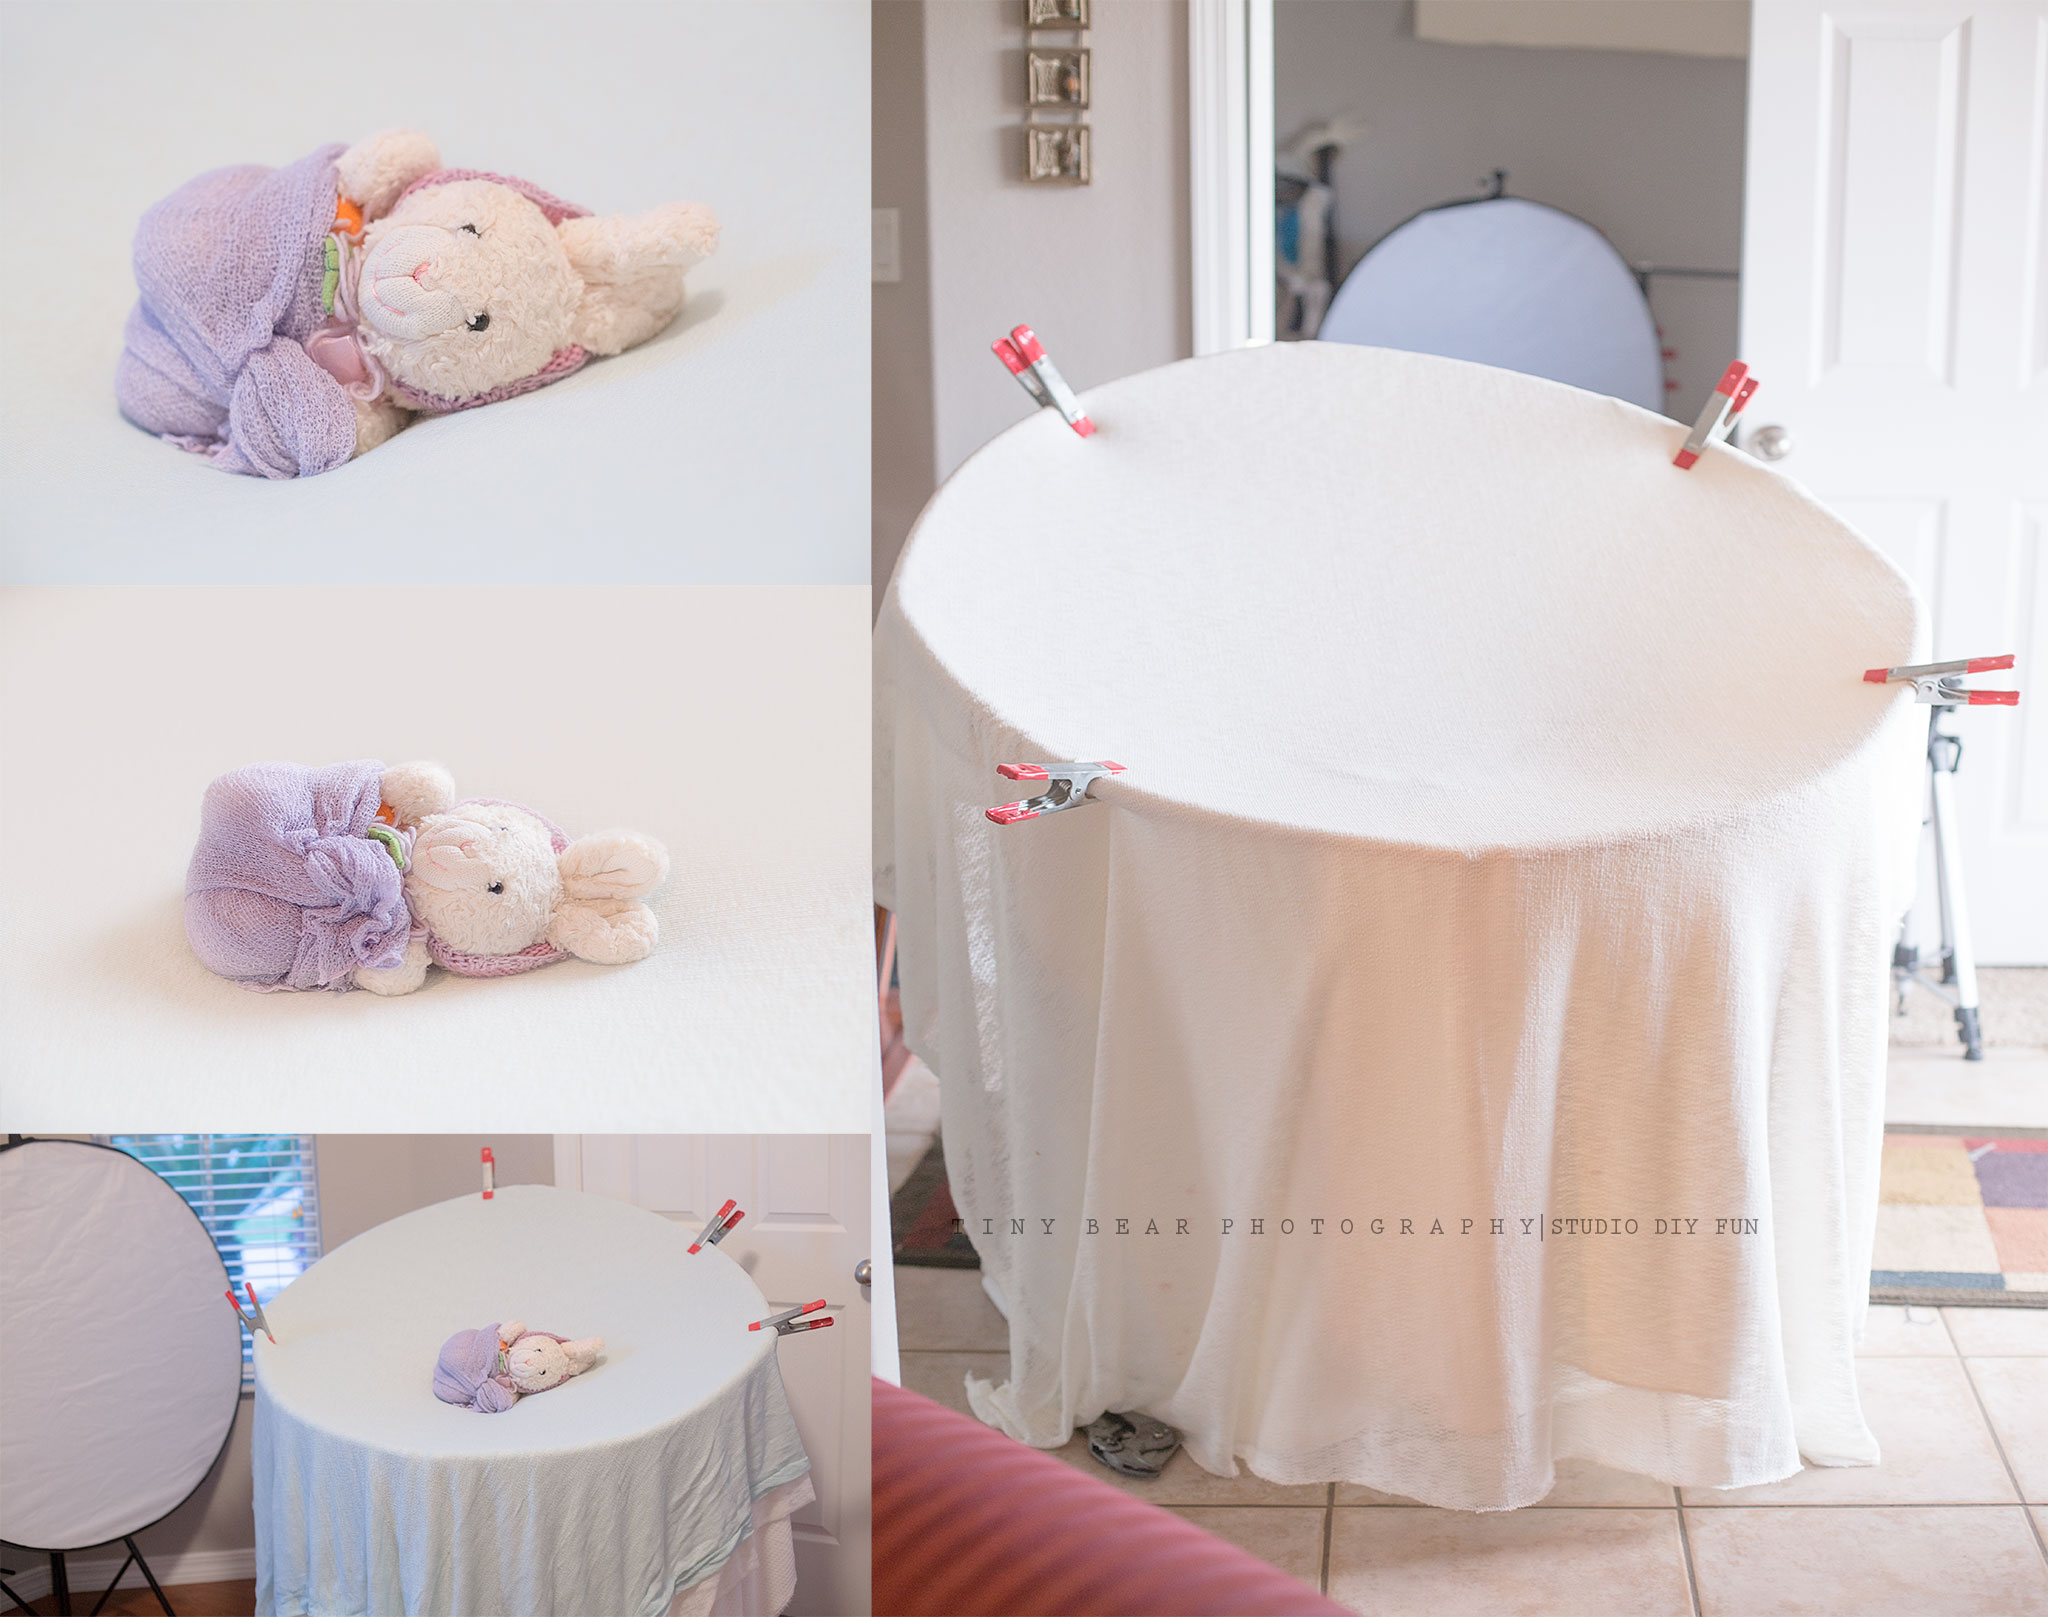
Now I know what you’re thinking, “oh my gosh PVC piping!”… haha I said the same thing. Here’s the thing, PVC piping can be round…. it can bend, they sell this at Lowe’s! (I didn’t know this either). I drew up my plans to make this, took this to Lowe’s, and Mr. Mathwize there was amazing at helping.
I purchased 3 10′ pvc piping round poles. I had the measurements, my poser itself is 27″in high. and about 32 wide. So my poser cover needed to be bigger than my poser. With the back being the highest for your depth shots. Each side is 35″in even, the front (now we’re talking the pvc piping), is 28″in high, and the back is 44″in high. The width is 43″in now. I made the bottom of the cover SMALLER than the top, because it needs to cup around the poser. I made it to where I can take it apart, and travel with it. The one thing I did though is the top round part and the bottom round part I actually screwed together, so it’s more stable. The middle poles in between that connect it, those aren’t screwed together. I did this because I wanted it to be stable, and strong.. plus easier to take apart when we transport and put back together if need be.
With all of this put together, it was done just in time for my clients newborn baby girl. The total cost was $28.00. This thing is stable, and holds weight, at least it holds 4 poser drops and 1 flokati.
Here’s a demo of my assistant Lisa (With Lisa Quadros Photography) with baby Kiera
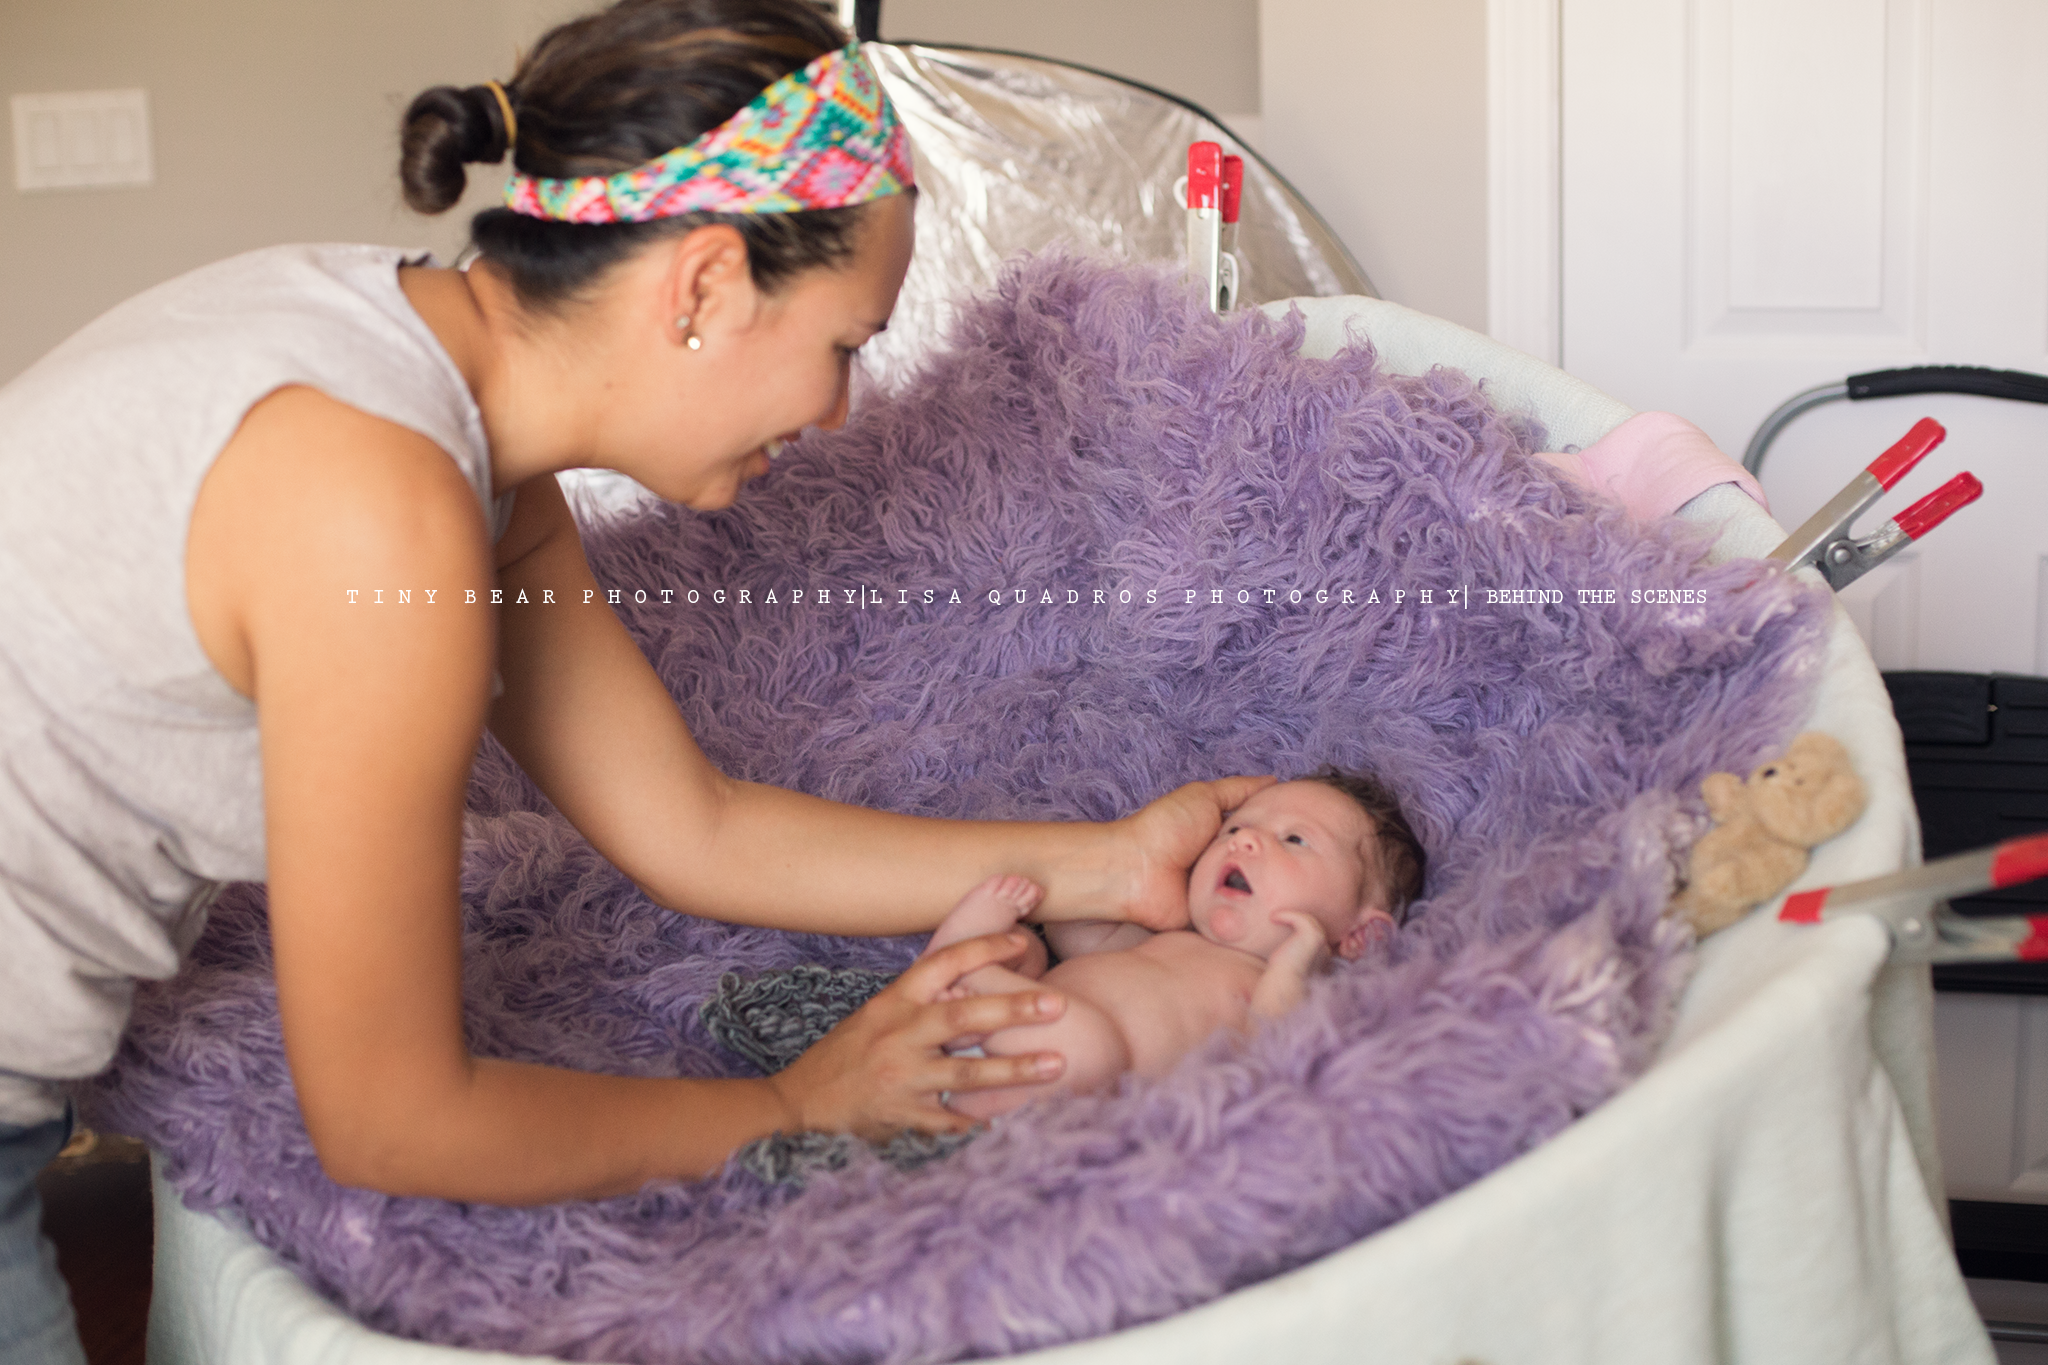
My Flokati is a 3×5, and it worked great to cup her up inside of there. Because this was designed off my poser that I have, I plan on using this as a blueprint and having a custom one made that’s out of metal. However this works just fine, and does the job. If you have a small poser, like a travel sized one, I don’t think this will work for you but you can always try it.
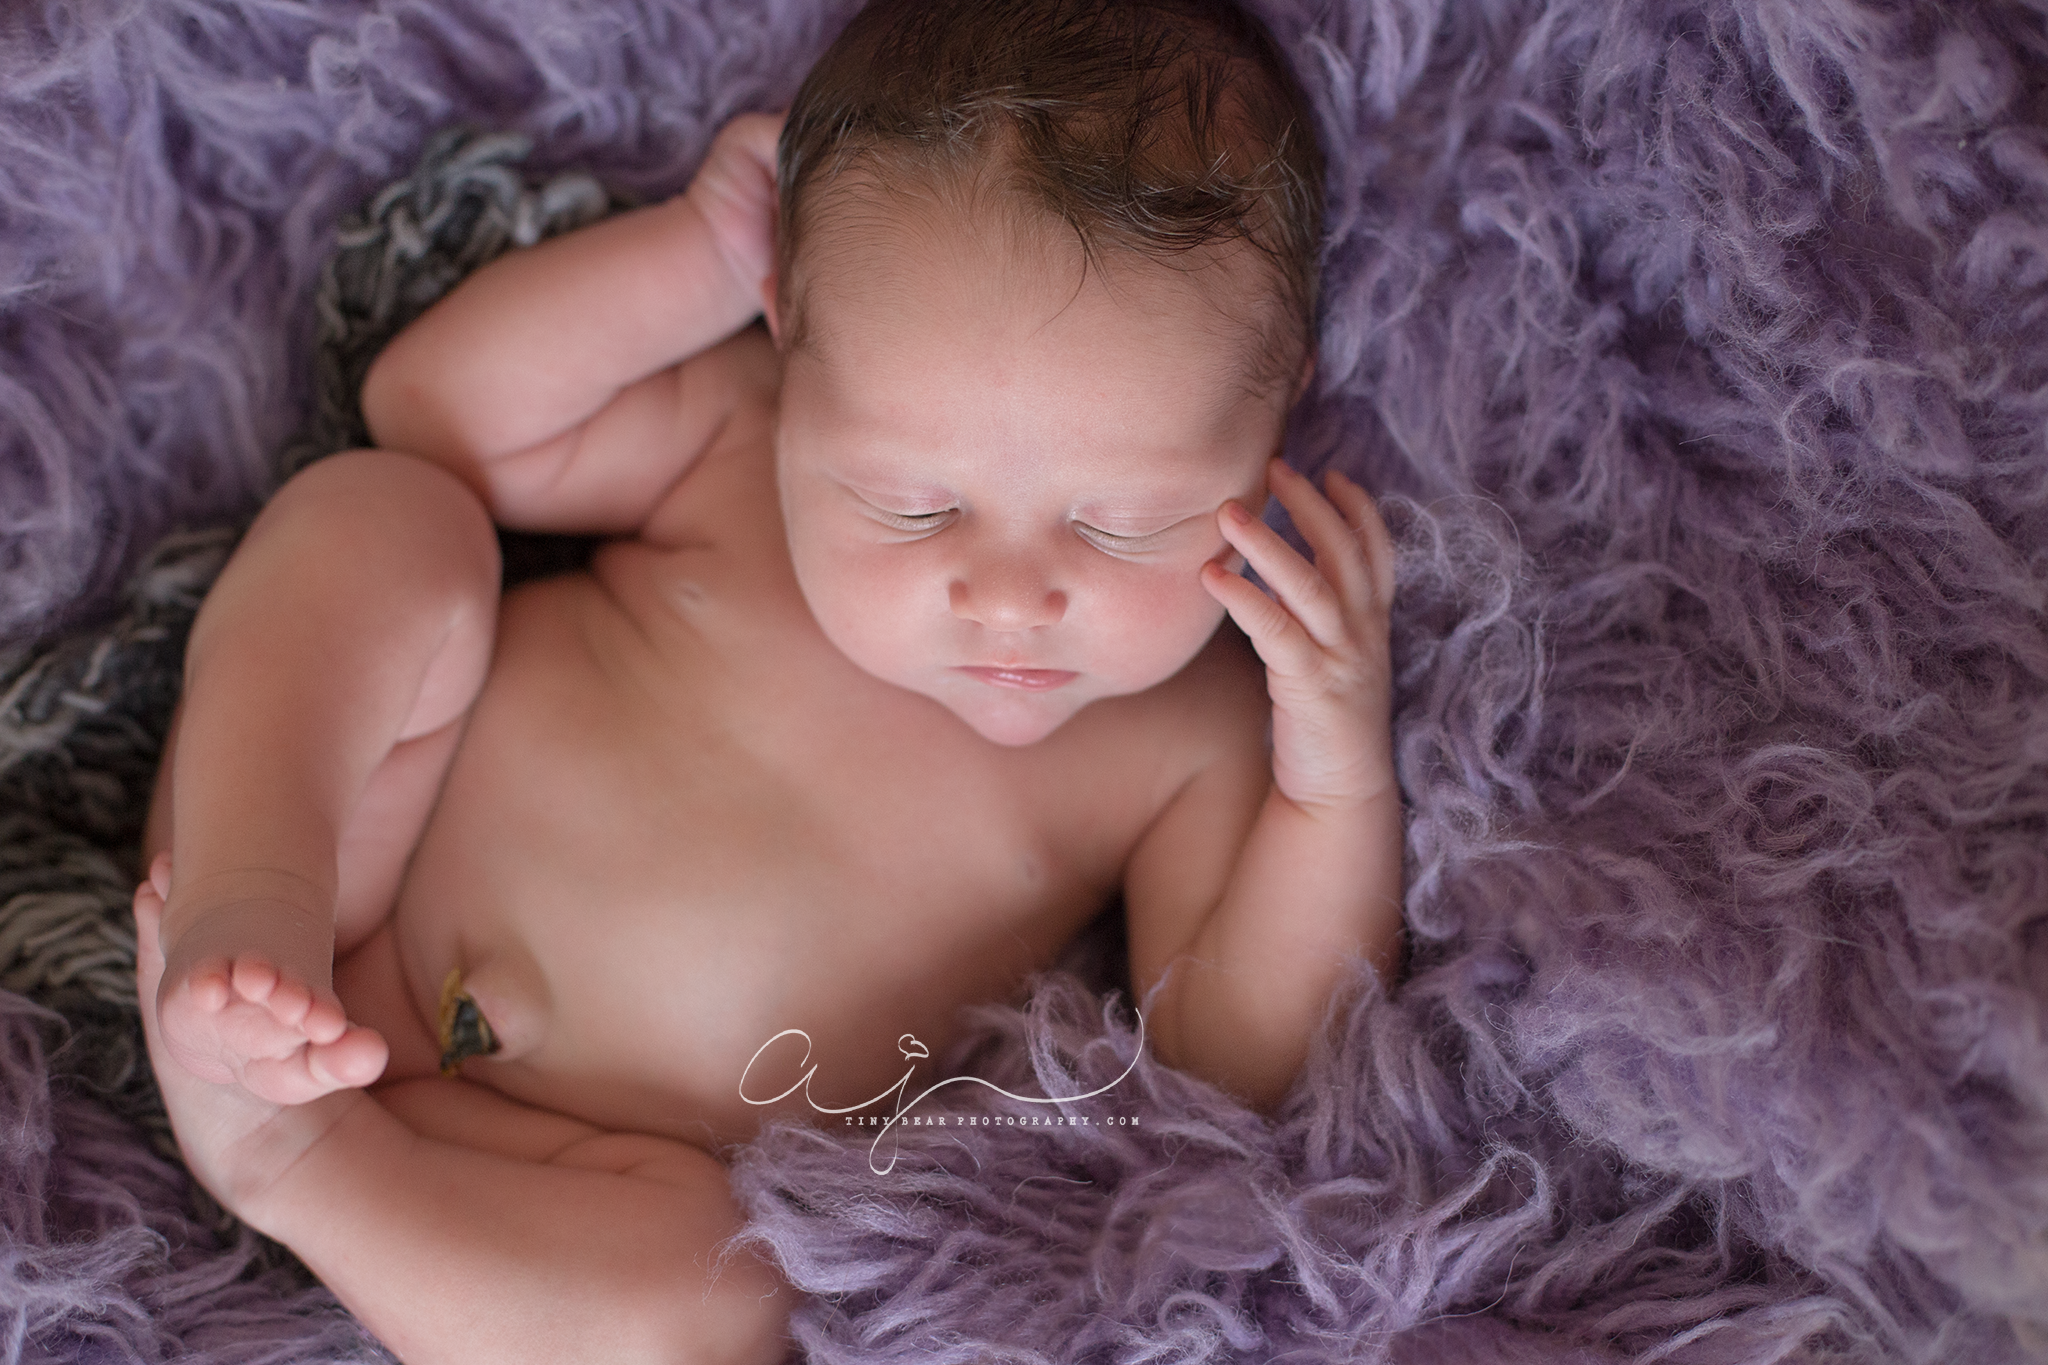
Here it is in use
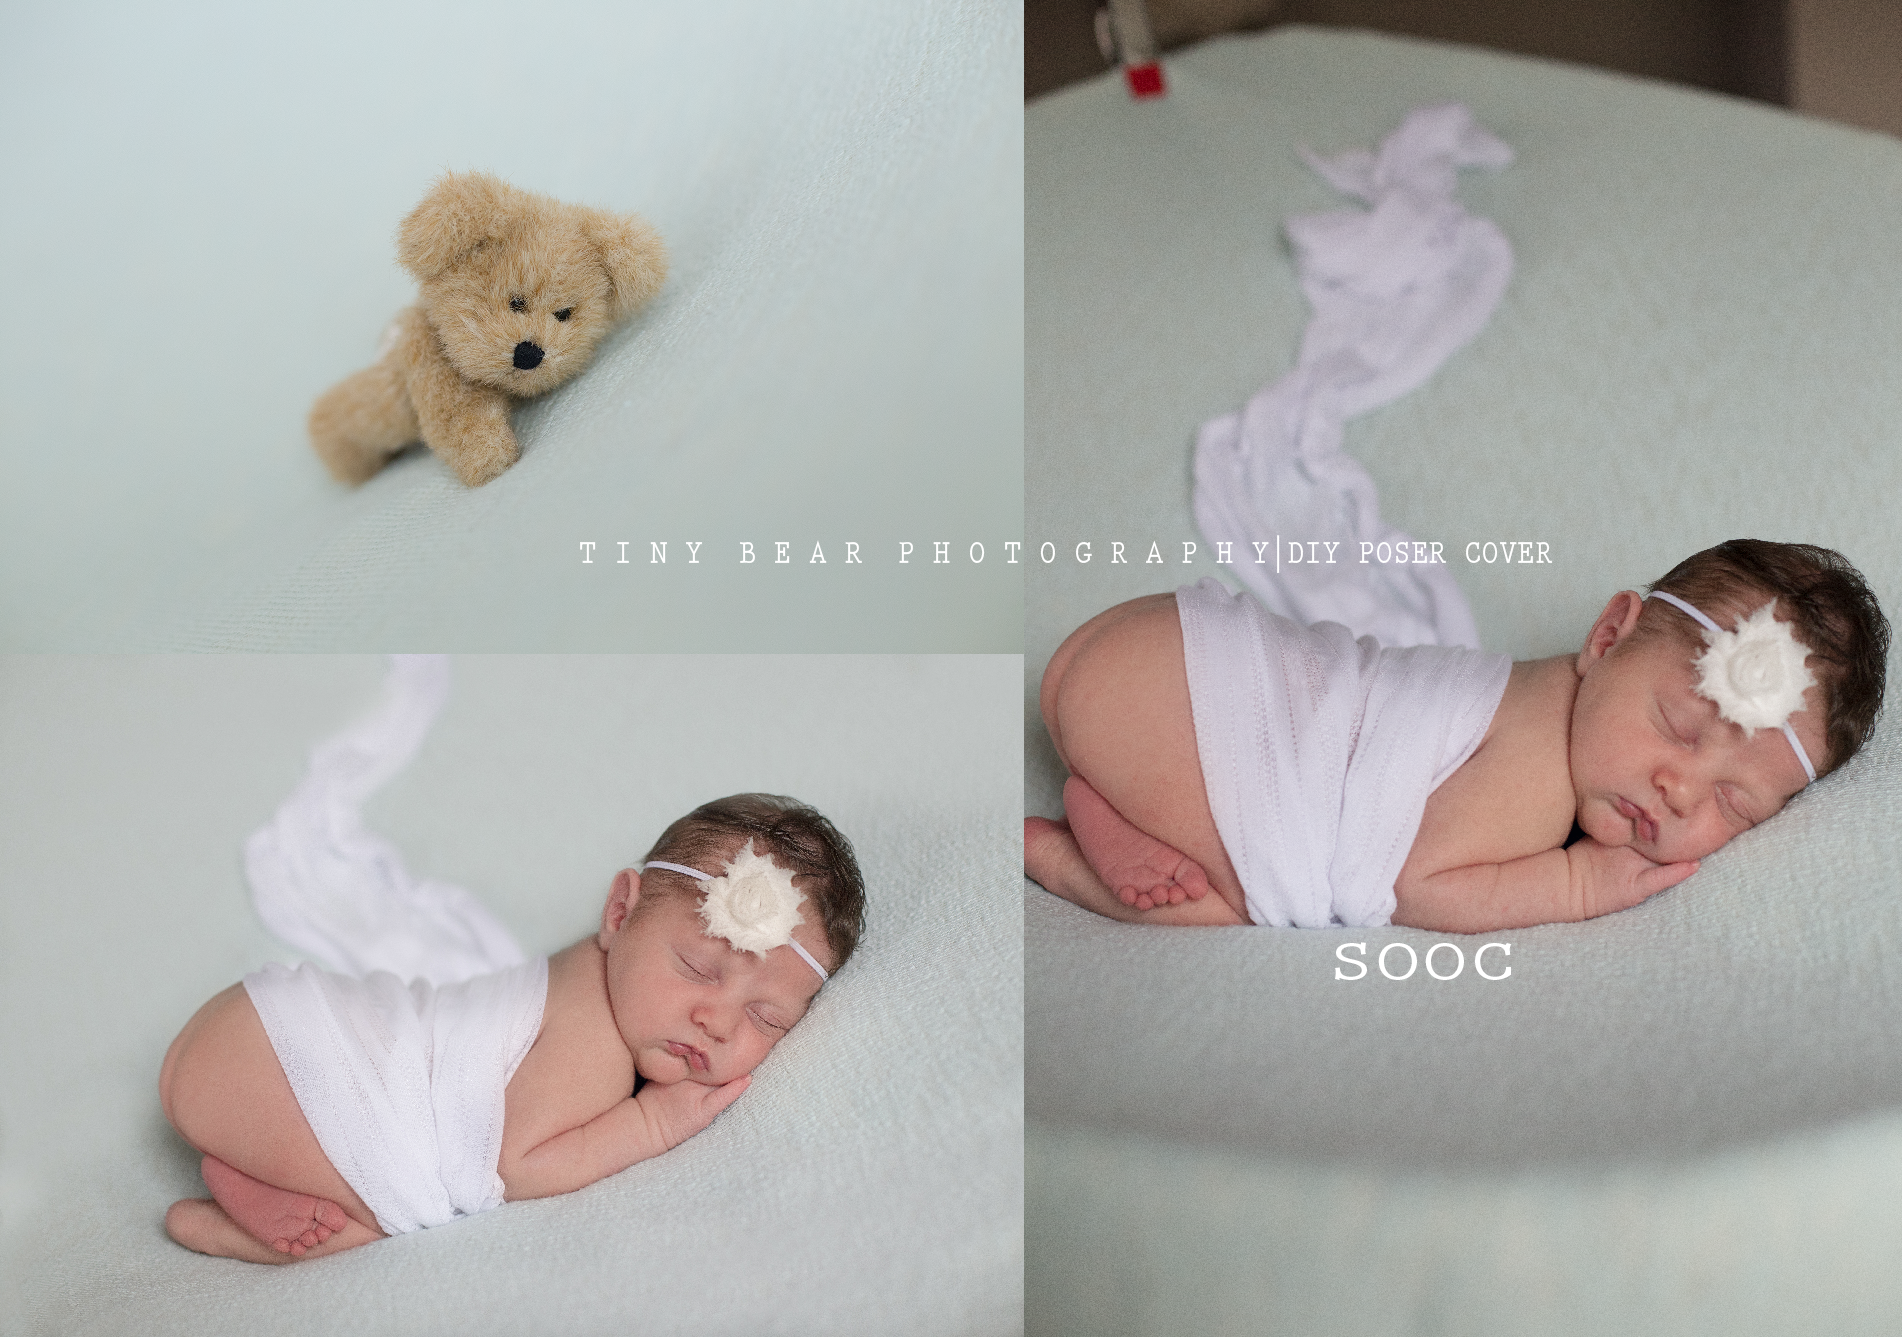
The one thing I love about this, is that it’s so convenient, it does not take up space in my studio what so ever, and it was SO incredibly easy to keep the wrinkles out of the fabric! I layer my posers with two fabrics, and a quilt or two. And then I put the posing fabric on (at least three). I was so impressed with this. Plus you can turn it (if you do natural light) to get more shadow or more light on your subject. (And yes I photographed a teddy bear).
So for $28.00 you can build yourself a cover around your poser for your fabrics. Totally worth it!
#DIYROCKS